

|
|
|
|
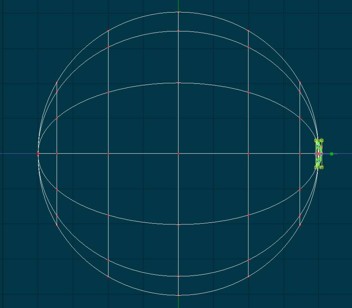
Lathe a sphere. (Set the number of cross sections to 12.) Rotate the sphere so that the hole in the end points to the front, and switch to "left" view. Copy and paste the sphere. Center it inside the original and then scale it to about 80-90% of the original size. |
 |
Select the entire small sphere and lock out the rest of the model. Lop off the back end of the smaller sphere leaving one latitudinal spline "south of the equator". This will become our "contact lens", so to speak. Select all the control points in the "contact lens" and group them. Call the group something like "pupil" or "iris" (or whatever you please). We'll call it the "pupil" to save me some typing. |
 |
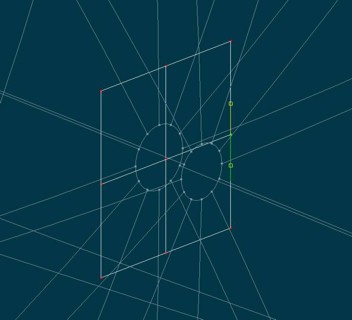
This next step is a little bit tricky, but not too bad. Select the whole pupil and move it along the z axis until the front of the pupil is a small distance beyond the front of the eyball. Next select the scale mode (make sure the whole pupil is selected) and move the pivot point to the front of the pupil. Scale the pupil along the z axis until latitude spline 2 is just beyond the surface of the eyeball (about the same spacing as the end of the pupil). Next select all of the pupil except the very end. Move the pivot exactly in line with latitude spline 2. Scale along the z axis until latitude spline 3 is just outside the eyeball surface. Next select everything from latitude spline 3 on back and move the pivot point in line with spline 3. Scale until spline 4 is just inside the eyeball surface. |
 |
To cover up the hole in the end of the eyeball, I make a tiny four-patch square and position it just in front of the eyeball hole. I define it as a group called "Patch" to facilitate selecting it later. Its surface properties should exactly match that of the pupil (at least near the hole in the end of the pupil) to hide the hole. |
 |
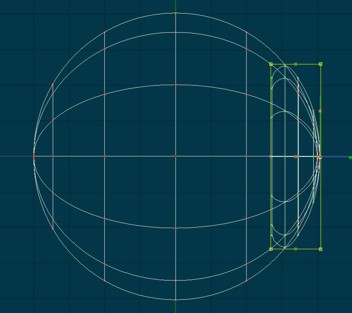
The next four steps key a pose slider to control the size of the pupil. Right click (Mac users know what I mean) on the model in the project workspace to bring up the model context menu. Select "New/Pose/Percentage" to open a relationship window. Right click on the new pose slider and select "Setup". Set the minimum to -100%. Next I move the pose slider a little and return it to 100%, then I adjust the scale (along x,y,Z) and back to its original size to set the key for 100%. Make sure the pivot is at the front end of the pupil before you scale it! Next set the pose slider to 50% and adjust the pupil to about 75% of its original size. Do this by first grabing a corner handle (x,y,z) until its height is reduced to about 75%, and then grab the middle handle at the back end (scale along z only) and move it to the right until the surface of the pupil is evenly spaced along the surface of the eyeball. It should look like the picture to the right. |
 |
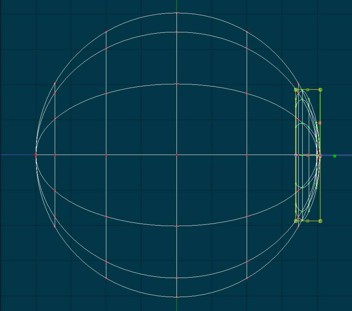
Next set the pose slider to 0% and adjust the pupil to about 50% of its original size. Again, do this by first grabing a corner handle (x,y,z) until its height is reduced to about 50%, and then grab the middle handle at the back end (scale along z only) and move it to the right until the surface of the pupil is evenly spaced along the surface of the eyeball. It should look like the picture to the right. |
 |
Next set the pose slider to -50% and adjust the pupil in the manner described above until it is about 25% of its original size. |
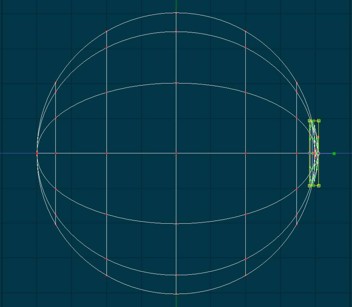 |
Next set the pose slider to -100% and adjust the pupil to about the size shown in the picture. You may actually have to pull the z axis scale to the left a bit at this stage to get the pupil's outer edge to line up with the surface of the eyeball. |
 |
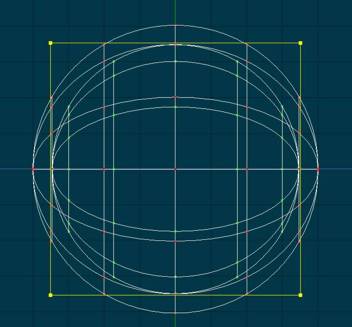
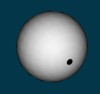
Here is what the eye should look like with the pose slider at 100%. |
 |
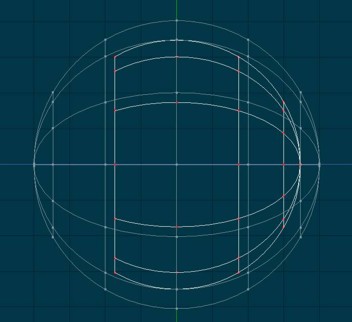
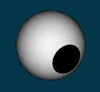
This is what the 0% (default) pose slider setting should look like. |
 |
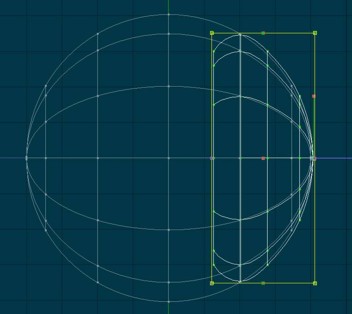
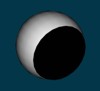
This is what the -100% setting should look like. |
 |
Click here for a demo video. (Most HTML5 ready browsers should work.)
Click here to return to home page.
Copyright 2003 Bill Gaylord